

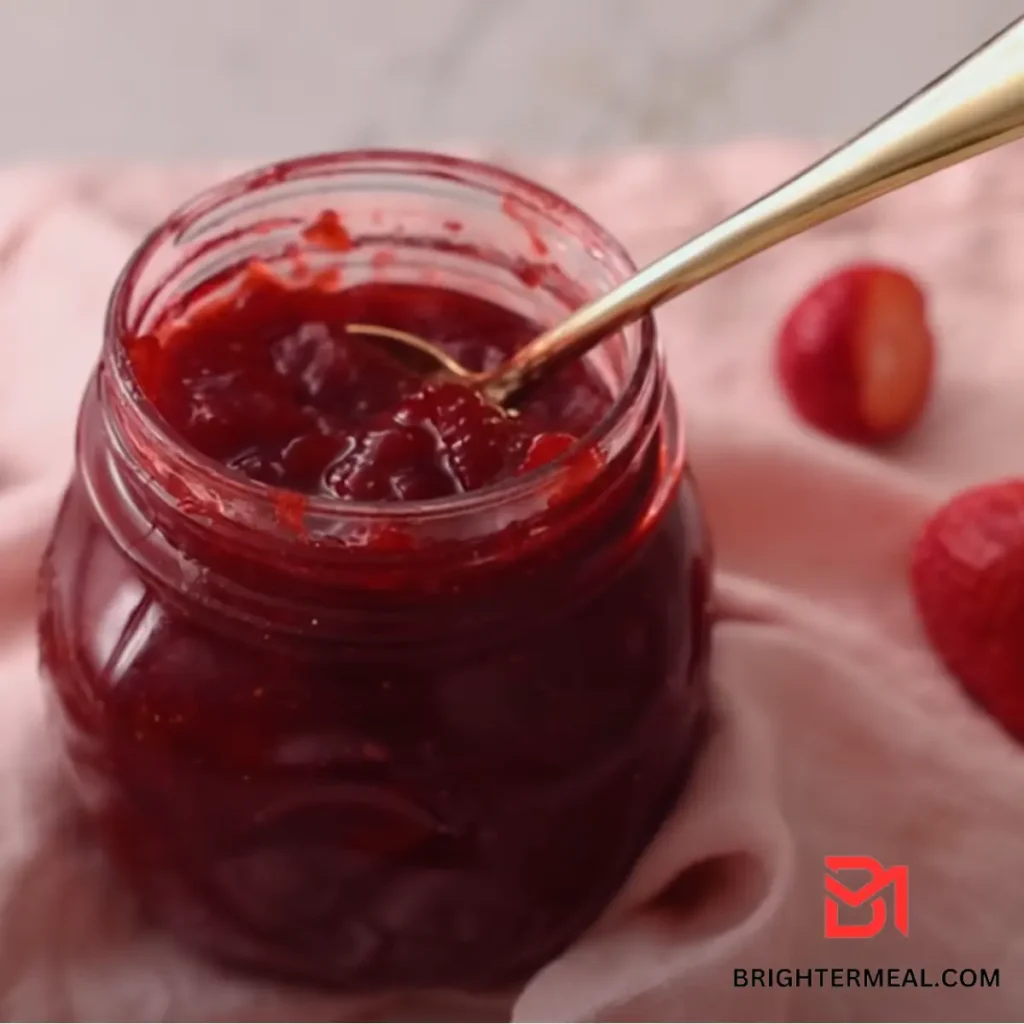
This strawberry jam recipe is the simplest one I’ve discovered that doesn’t require pectin. The result is a soft, spreadable, and delicious jam.
I’m looking forward to savoring Mini Strawberry Runny Cake and Perfect Strawberry Sauce Cake even in the dead of winter, reminiscing about summer. Who would have thought I’d become such a strawberry enthusiast? But for now, I’m relishing all the recipes that showcase fresh strawberries, starting with this simple homemade strawberry jam recipe!
There is just something about homemade jam
Have you ever tried making strawberry jam before?
There’s something truly magical about simmering those glistening ruby red strawberries and transforming them into a delicious jam. The sweet aroma fills the house, tantalizing my taste buds. I can barely resist spreading it on everything even before it’s fully set!
I’ve been using this easy classic jam recipe for years, and it’s still a favorite. It’s simple, quick, and yields a small batch, perfect for a homemade treat or as a thoughtful gift.
Once you’ve experienced the satisfaction of homemade jam, it’s hard to go back to the store-bought version.
Just 3 Simple Ingredients
You’ll appreciate how simple this strawberry jam recipe is. Basically, it requires just three basic ingredients: strawberries, sugar, and lemon juice!
But what’s even better is that you can conveniently add these ingredients to your Target cart directly from this recipe post!
I’ve partnered with Target, so now every recipe on my site includes a Target shop button in the recipe card.
Pretty cool, right?!

Why I LOVE this homemade jam recipe
- Small batch strawberry jam – This homemade jam recipe yields about 2 cups of jam, so it’s perfect for satisfying your fresh jam craving without the need to make large batches. Plus, it’s incredibly easy!
- No extra pectin – You might be wondering whether strawberry jam is better with or without pectin. Since strawberries are naturally low in pectin, some people opt to add extra pectin to their jams and jellies. However, I personally prefer homemade jam without additional pectin. It results in a slightly softer texture, making it more versatile.
- No canning required – Basically, you won’t need a jar lifter or a water bath canner for this recipe; no canning is necessary.
- Fresh strawberry flavor – Only the natural flavor of strawberries shines through in this jam.
- Natural ingredients – This homemade jam recipe contains no artificial flavors, colors, or high fructose corn syrup.
Picking the BEST strawberries
Summertime offers the perfect opportunity to whip up a batch of strawberry jam. For the best results, opt for fresh-picked strawberries whenever possible.
If fresh-picked strawberries aren’t available, basically, choose firm, sweet strawberries that are free of any bruises. Bruised strawberries may lead to quicker spoilage of your jam.
Since this recipe doesn’t call for any additional pectin, we’re relying on the natural pectin present in the strawberries to help the jam set properly.
Keep in mind that slightly underripe strawberries tend to contain the highest levels of pectin. Therefore, selecting a mix of ripe and slightly underripe strawberries is advisable for achieving the desired firmness in your jam.

How to Tell When Strawberry Jam Is Ready
To ensure your strawberry jam sets properly, it’s crucial to cook it for a sufficient amount of time. But how do you know when it’s cooked long enough?
There are two methods to check:
Thermometer – I prefer using a thermometer for this. Once your thermometer reads 220°F, your jam is ready.
Plate test – If you don’t have a thermometer, you can perform the plate test. Before making your jam, chill a ceramic plate in the fridge or freezer. When you’re ready to test the jam, place a small amount of the hot jam onto the chilled plate. If the jam holds its shape without running, it’s ready. If it’s still runny, continue to cook for a bit longer, testing again until you achieve the desired firmness.
Tips For Making From-Scratch Strawberry Jam
Choose ripe strawberries – Indeed, local, freshly picked strawberries are best for this homemade jam recipe. So, select strawberries that are firm, sweet, and without any bruises. Mixing ripe and slightly underripe berries works well, too.
Let the strawberries and sugar sit before heating – Allowing them to sit together helps release their juices. Having some juice in the pan before applying heat helps prevent the strawberries from burning.
Thoroughly clean and dry the jars – Ensure your jars are spotlessly clean to prevent mold growth in the jam and extend its shelf life.
Practice patience – Making strawberry jam requires patience. Enjoy the process, stir frequently, and keep a close eye on the heat to avoid burning.
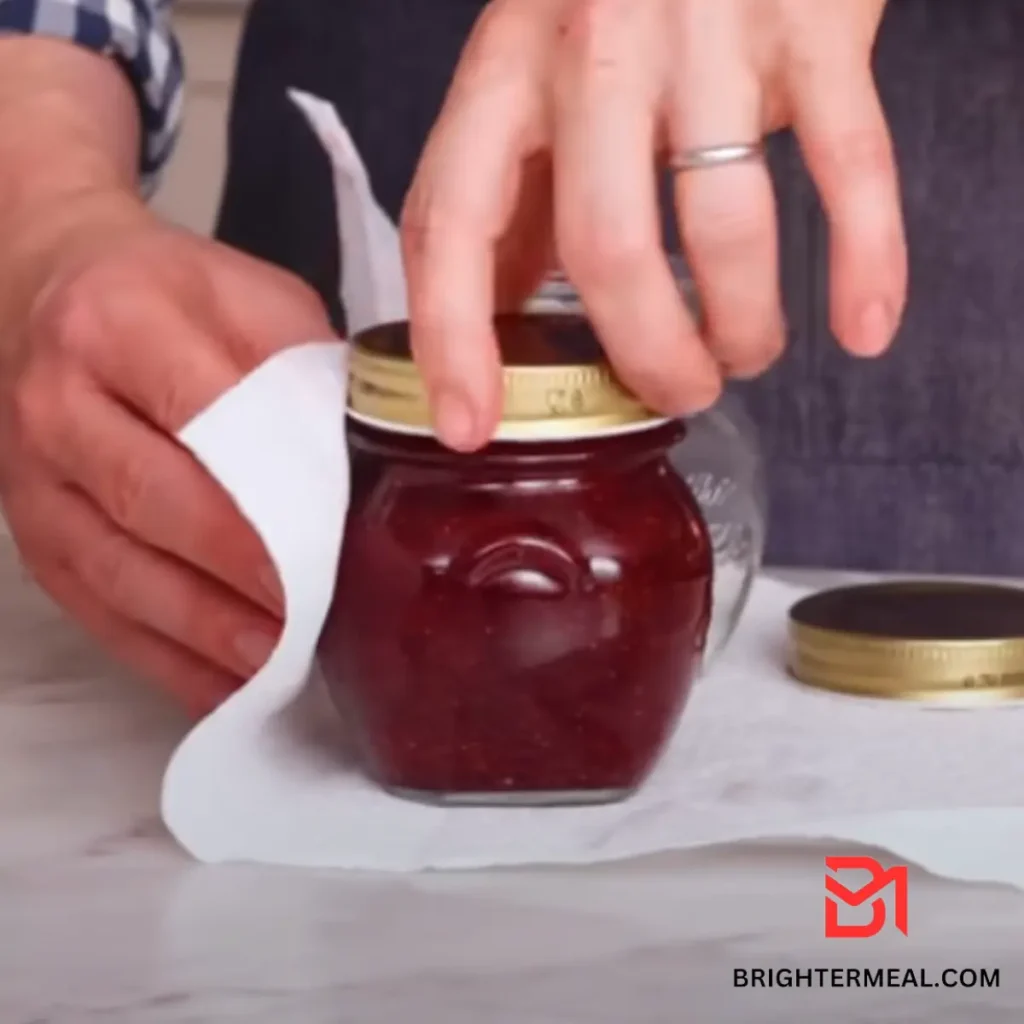
Seal tightly – After making your jam, seal the jars tightly and store them in the fridge to prevent mold growth.

How to Make The BEST Strawberry Jam Recipe
INGREDIENTS
- Fresh strawberries – These provide natural pectin to help the jam set. (I prefer using a combination of ripe and slightly underripe strawberries.)
- Granulated sugar – Sugar sweetens the jam, acts as a preservative, and helps thicken it.
- Lemon juice – Lemon juice activates the pectin, balances the sweetness, and acts as a preservative.
Fresh strawberries – These provide natural pectin to help the jam set. (I prefer using a combination of ripe and slightly underripe strawberries.)
Granulated sugar – Sugar sweetens the jam, acts as a preservative, and helps thicken it.
INSTRUCTIONS (detailed recipe at the bottom of post)
- Sterilize your mason jar(s) by boiling them in water and ensuring they are completely dry. Set aside. (Use a jar large enough to hold approximately two cups of jam.)
- Hull and remove the tops from the strawberries, then dice them up. (Refer to the note about blending if needed.)
- Place the strawberries, lemon juice, and sugar in a large pot or deep saucepan. Stir to coat the strawberries in sugar.
- Allow the strawberries to sit for about 10-15 minutes until they start to release their juices.
- Set the heat to medium-low and stir with a rubber spatula until the sugar melts completely. Make sure to scrape any sugar from the sides of the pot and spatula. (All the sugar needs to dissolve to prevent the jam from becoming grainy.)
- Simmer for 10-15 minutes, stirring frequently and mashing the strawberries with a potato masher as they soften.
- Bring the mixture to a full rolling boil and continue boiling until it reaches 220°F. Stir constantly to prevent the mixture from burning.
- Remove from heat. (Optional: Skim off any foam from the top of the jam.)
- Pour the jam into the prepared jar, leaving about 1/4 inch of space at the top.
- Immediately place the lid on the jar and allow the jam to cool to room temperature.
- Refrigerate until firm, and store in the fridge for up to two weeks.

Ways to Use Strawberry Jam
Spread your homemade strawberry jam on toast or biscuits, use it as a dessert topping or ingredient, or add dollops to homemade waffles or pancakes. For further inspiration, refer to the recipe below.
Add some twists!
- Get creative! Experiment with various berries to make raspberry or blackberry jam, or even try a mixed berry blend!
- Explore adding herbs like basil, lavender, or different flavorings and citrus zests for a unique twist.
- Add a hint of spice! Cinnamon or cardamom can elevate the flavor profile of your jam.
- For a special touch, consider adding a splash of champagne or bourbon for a unique and delightful jam gift.
How to use Strawberry Jam
- Spread on biscuits, muffins, toast, or bagels.
- Use as a topping for ice cream, whether it’s vanilla or strawberry flavored.
- Spoon onto waffles or pancakes.
- Swirl into your favorite yogurt.
- Create delicious peanut butter and jam sandwiches.
- Spread on top of cheesecake for a fruity twist.
- Mix with vinegar and oil to craft a sweet and tangy strawberry salad dressing!
frequently asked questions
Yes, you can use frozen strawberries. Make sure to allow them to thaw before continuing with the recipe.
If you’re thinking of skipping the lemon juice, don’t. Lemon juice is important for making the jam firm and acts as a preservative. Don’t worry, it won’t make the jam sour; it actually balances the sweetness.
Yes, absolutely!
So, If you enjoy, please Follow my facebook page to be notified every time I publish a recipe!Enregistrer
Love this recipe? Give it a ⭐⭐⭐⭐⭐ review in the recipe card below!

strawberry jams recipes
Ingredients
- 1 pound of fresh strawberries washed
- 1 and 1/4 cups of granulated sugar
- 1 to 2 tablespoons of freshly squeezed lemon juice
Instructions
- Sterilize your mason jar(s) by boiling them in water and ensuring they are completely dry. Set aside. (Use a jar large enough to hold roughly two cups of jam.)
- Remove the tops from the strawberries and dice them up. (Refer to the note about blending.)
- In a large pot or deep saucepan, combine the washed strawberries, granulated sugar, and freshly squeezed lemon juice.
- Stir well to coat the strawberries in sugar.
- Allow the strawberries to sit for about 10-15 minutes until they start to release their juices.
- Turn the heat to medium-low and stir with a rubber spatula until the sugar has completely melted. Be sure to scrape any sugar off the sides of the pot and spatula. (All the sugar must dissolve to prevent the finished jam from crystallizing.)
- Simmer for 10-15 minutes, stirring frequently and mashing the strawberries with a potato masher as they soften.
- Bring the mixture to a full rolling boil, and continue boiling until the mixture reaches 220°F. Stir constantly to prevent the mixture from burning.
- Remove from heat. (Optional: Skim off any foam from the top of the jam.)
- Pour the jam into the prepared jar, leaving about 1/4 inch of space at the top.
- Immediately place the lid on the jar and allow the jam to cool to room temperature.
- Refrigerate until firm, and store in the fridge for up to two weeks.

